
How to Research and Contribute Black Hole Data
Background: Logging black hole data is EASY (and fun!) - this guide details the methods available to research and contribute black hole (and associated) data to the Black Hole Suns project. The two (2) methods that can be used to contribute black hole data are as follows:
Method | Applicable Gaming Platform | Contribution method |
Single (1 BH at a time) | PC/PS4/XBox | Directly on web page |
Bulk (multiple BH entries) | PC/PS4/XBox | Upload exported .CSV formatted file |
Helpful Tips Before You Start:
- There are two methods to find black holes on the Galaxy Map in No Man’s Sky. The first is to “ask” Nada and Polo for the location of a black hole while onboard the Space Anomaly station. This method is inefficient as it only directs you to one black hole at a time. You want to be able to see any black hole within your area in open space, so it is highly recommended to complete the “Atlas Path” mission. Once you create a Star Seed for the Atlas and choose to create a new star system, the Galaxy Map will automatically show you where black hole systems are located.
- Going through a black hole will damage the tech in the General slots on your starship. It is not required, but a lot of black hole researchers set aside a ship for dedicated black hole research, and place the most technology possible in the Tech Slots, which DO NOT take damage when you go through a black hole. It’s completely optional but it’s something you may want to consider as you become more advanced.
- When it comes to recording black hole data, there is no right or wrong way. The right way is the way that you are most comfortable with. Some researchers write down the information on paper then transfer it online, others type into the form in real-time while they are playing the game, others take screenshots and then type the data into a spreadsheet after they collect a batch of data. Whatever method or workflow that works for you is the right one! You can always ask questions or share your methods on our Discord server (in the “bhs-researchers” channel).
GETTING STARTED
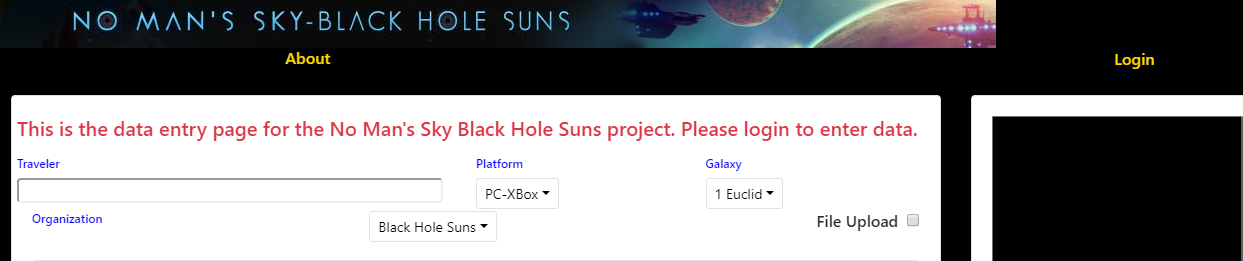
STEP 1: Upon navigating to the main page for the Black Hole Suns data site, you will be asked to log in. We DO NOT make use of your email data. The reason we ask you to log in is for troubleshooting purposes and also to make it easier to enter repeatable data as you will see in the next step. Click on “Login” to log into the site using the 3rd party account that you prefer (example, Google, github, etc.)
STEP 2: After logging in, you will see 4 panes on the page:
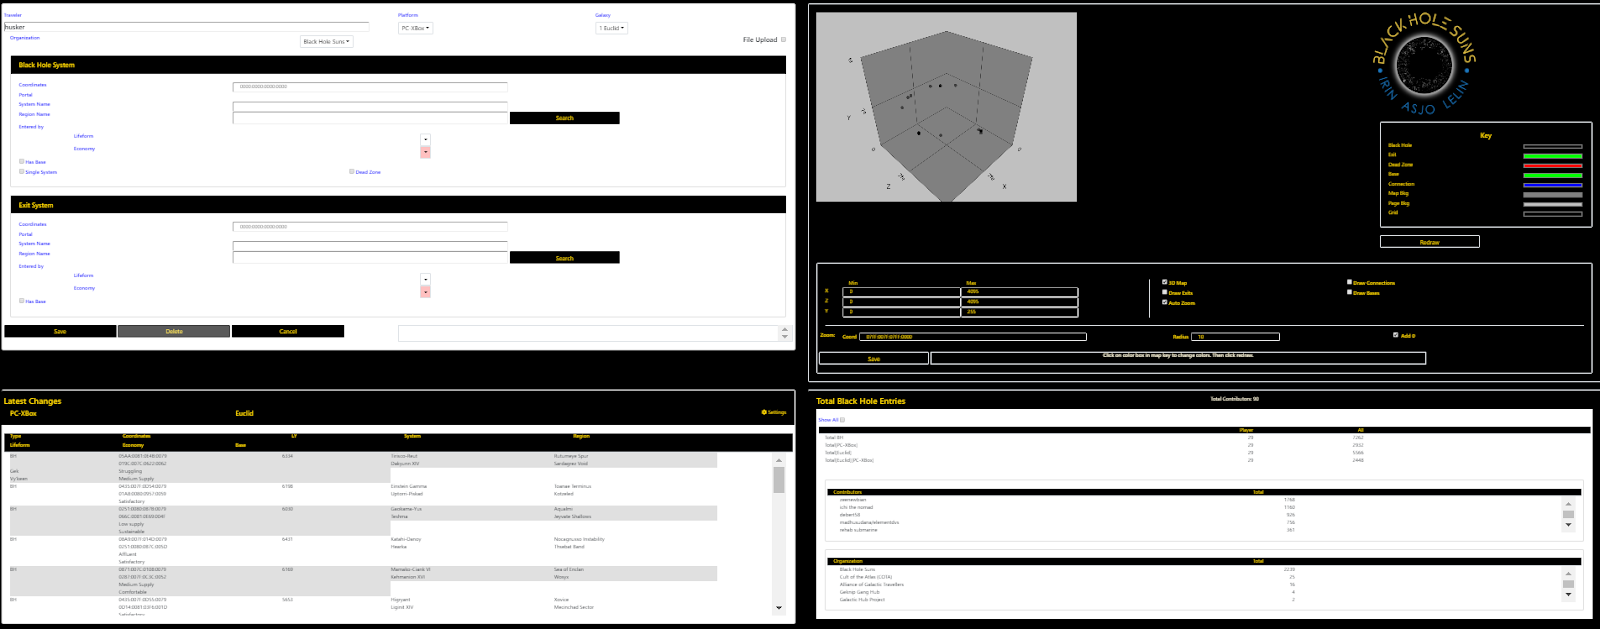
Pane 1: For input of Black Hole data (including file upload option) - this is where you can type black hole data that you have recorded (or upload a .CSV file that contains data on multiple black holes) | Pane 2: Map - This is a galaxy map that shows all of the black holes you have contributed |
Pane 3: Latest Changes - this is a list of data that you have recently added to the database | Pane 4: Totals - this lists the total number of black holes submitted including some info regarding galaxies, gaming platform, users, and any organizations that have contributed data. |
STEP 3: Enter your primary user/traveler details:

Following is a description of the “saved” fields for the Input Pane (1):
ONCE YOU ENTER DATA IN THE FOLLOWING FOUR (4) FIELDS, THEY WILL AUTOMATICALLY BE FILLED WHEN YOU LOG IN THE NEXT TIME |
- Traveler - This is the name that you want to use when you input data. Consider it your player name, your researcher name, or whatever handle you want to be known by in the database. There is no connection between the name you choose and any of your online accounts, so it can be whatever your want. (Note: Names deemed to be of an offensive nature will be deleted, and any data will be assigned to the name “Unknown Traveler”. Black Hole Suns reserves the final say in any naming convention matters).
- Platform - Choose the gaming platform that you are researching/playing on. PC and XBox players share the exact same data, but black hole exit points are different for PS4 players.
- Galaxy - The Galaxy you are currently located
- Organization (Optional) - If you would like to associate your research efforts with a No Man’s Sky civilization, corporation, or recognized organization, choose from the drop-down list. (Note - the source of the list is generated from the list of organizations in “Civilized Space” according to the No Man’s Sky Wiki.)
Method 1 (SINGLE): Enter Data directly in the online web application
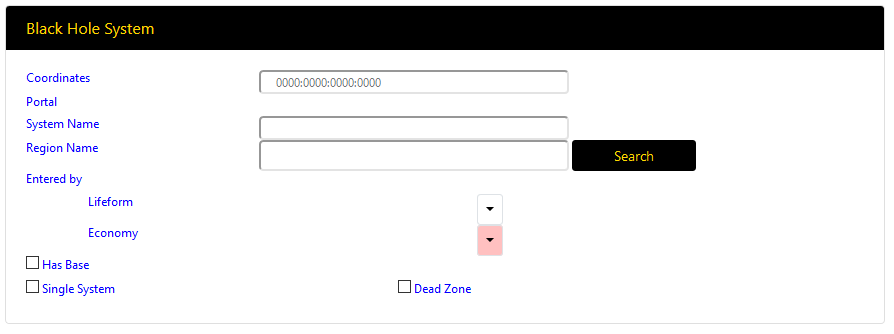
Enter the data for the black hole entry system. Only THREE (3) fields are required, the rest are OPTIONAL::
REQUIRED | OPTIONAL |
Coordinates - You are located in the system where there is a black hole. You get the Coordinates by landing on a planet and using a Signal Booster. It will give you a string of info such as HUKYA:046A:0081:0D6D:0079. Ignore the first set of letters, they're not useful for mapping, you want the 16 characters after that - 046A:0081:0D6D:0079 - That's what you want to enter in this field.(Pro-Tip: remember you can pick the portable Signal Booster back up and reuse it). | Lifeform - The lifeform that inhabits the system (Gek, Korvax, Vy’Keen) |
System Name - A star system's name can be found in your Discovery menu, and also on the Galaxy Map. (PLEASE NOTE - Black Hole Suns STRONGLY RECOMMENDS THAT YOU NOT RENAME THE SYSTEM WHERE A BLACK HOLE EXISTS. This is in order to support consistency across gaming platforms. However, we do understand that civilizations, corporations, and related organizations will rename systems that are part of their headquarters and branch networks.) | Economy - The economy level for the system (there are 3 main levels with several descriptive names for each) |
Region Name - The Region Name can be found on the Galaxy Map menu. Each Region has one black hole located in the 0079 coordinate system. | Has Base - Check this box if you would like to record that you have a base in this system, or you have visited someone else’s base in this system, or if you visited a space station that you like. This option is useful in the event that your teleporter list gets full and locations start to fall off. |
Single System - Check this box if you want to enter data about a particular system (and *not* a black hole entry/exit pair). Single System info is useful if you're tracking locations that have S-Class ships/weapons or any other items you'd like to return to. | |
Dead Zone - You go through a black hole, and it doesn’t take you anywhere. Most likely, you are in the “Dead Zone”. This is an area of the Galaxy where black holes don’t operate as expected. You normally encounter these as you approach the very center of the Galaxy. |
NOTE: If you enter coordinates for a black hole pair that already exists, the data for that entry will automatically appear in the fields, including the Portal coordinates as well as the Researcher Name (the person who logged the data) |
After you input the data for the system that has the black hole, complete the same steps for the exit system:
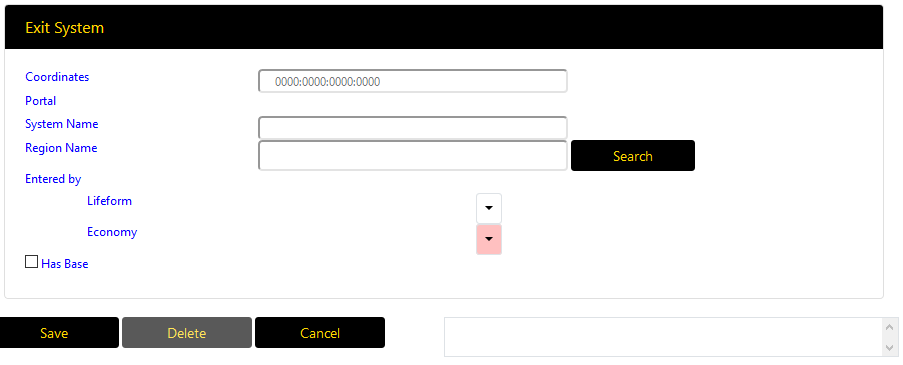
Click “Save” to save your changes to the database. (You can also use the “Delete” button to remove entries that you have created previously).
Method 2 (BULK): Multiple Black Hole Entries Using a Spreadsheet
- Due to preferences or play style, many black hole researchers prefer to submit data in bulk. As a result, a “bulk entry” template has been created for you to use for this purpose. The template can be used by both normal and advanced users.
- After logging into the site, select the checkbox labeled “File Upload”.
3. Browse your system for the .CSV file with your bulk data, and click Submit. [NOTE: Before
clicking Submit, you can check your data before you upload it. You can check for errors by clicking on the “Check” button. You can compare your entries to existing data (example, checking for duplicates) by clicking on the “Compare” button. The “Verbose” and “Very Verbose” check-boxes give you two levels of logging for troubleshooting purposes if necessary.
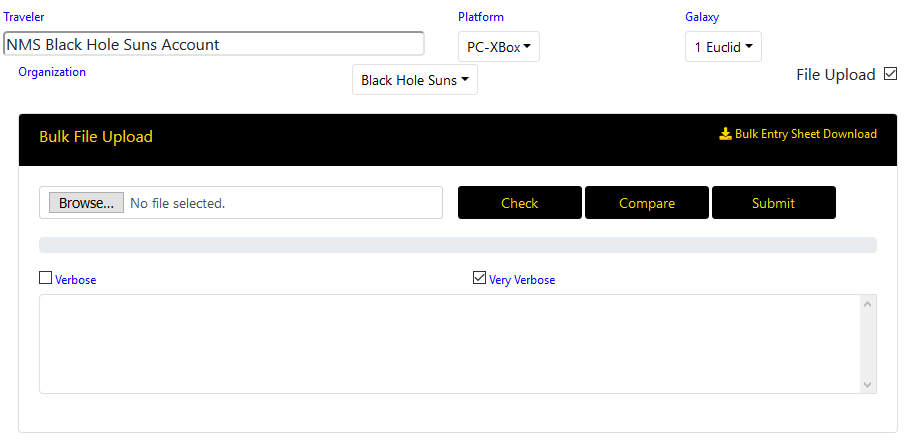
If you do not already have your own copy of the Bulk Entry Sheet template, click on the Bulk Entry Sheet Download link, and you will be taken to the bulk entry sheet itself:
- You need to use this file from within your own Google Drive account. Be sure to choose File-->Add to My Drive so that you can edit the file directly.
- There are two (2) tabs on the spreadsheet. The first one is for data entry and the second one (“How To Use”) features full documentation for how to use and upload the bulk sheet to the database.
Once you have the bulk spreadsheet in your Google Drive, you can use it repeatedly to submit black hole data. Follow the instructions on the “How To Use” tab to export your data into .CSV format and upload it to the database. |